Webcam Nesting Box
2024-03-07, 18:22:09
Maybe a fisheye lens is a bit overkill for a nesting box.
You live and learn.
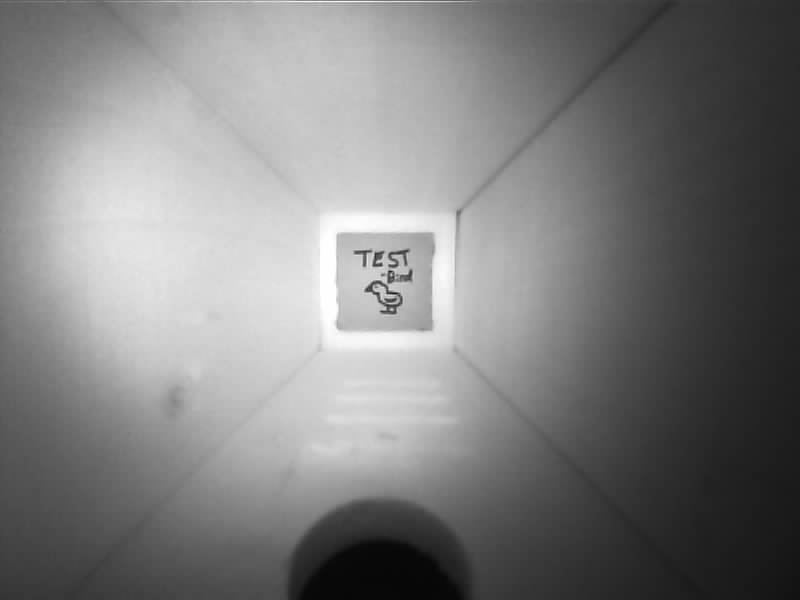
18:24:38
I probably should've known better since I already built one with a "normal" lens.
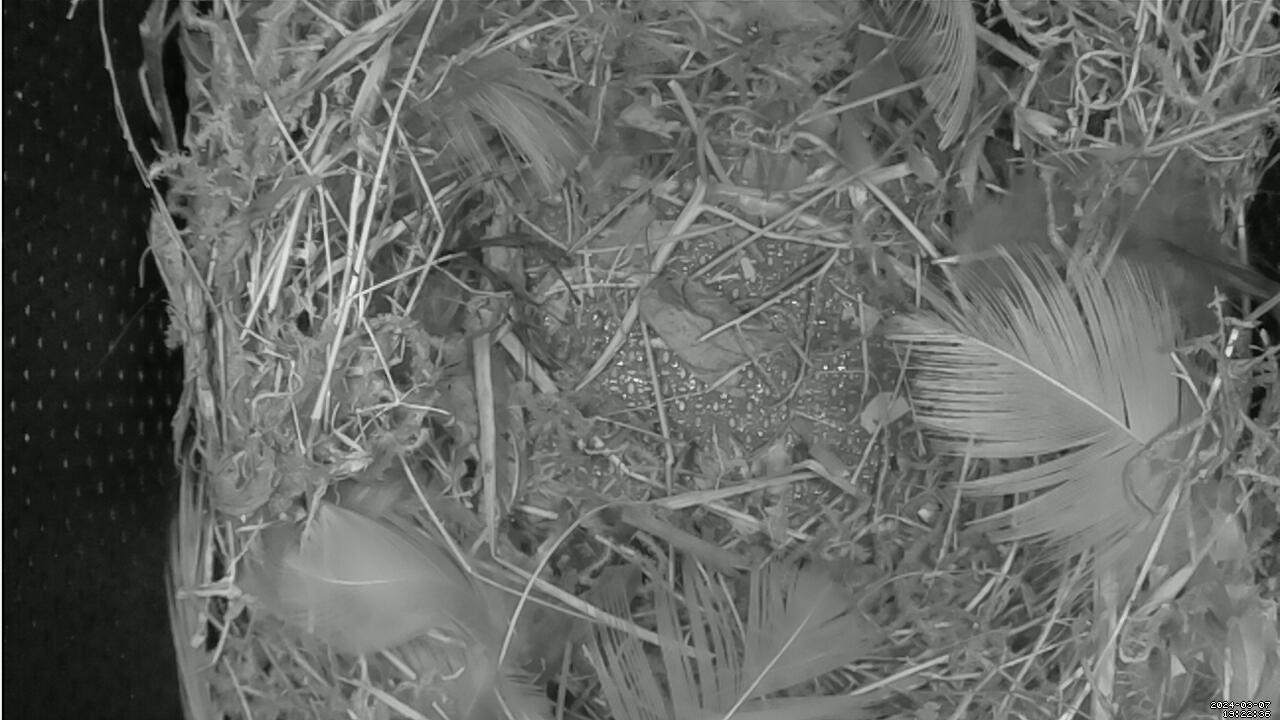
18:25:23
I'll be posting more about this during the weekend when I get to install the second one I've built.
18:28:16
Let's just say the birds will have a better Internet connection than me in 2015.
Or at least that is the plan.
18:30:05
The box that has already a nest in it is leeching off the wifi in the house.
The other one will need some more work to get online.
2024-03-08, 19:21:43
Ok, so during the day I hung up the new nesting box. This is what It looks like in its net place in the garden.
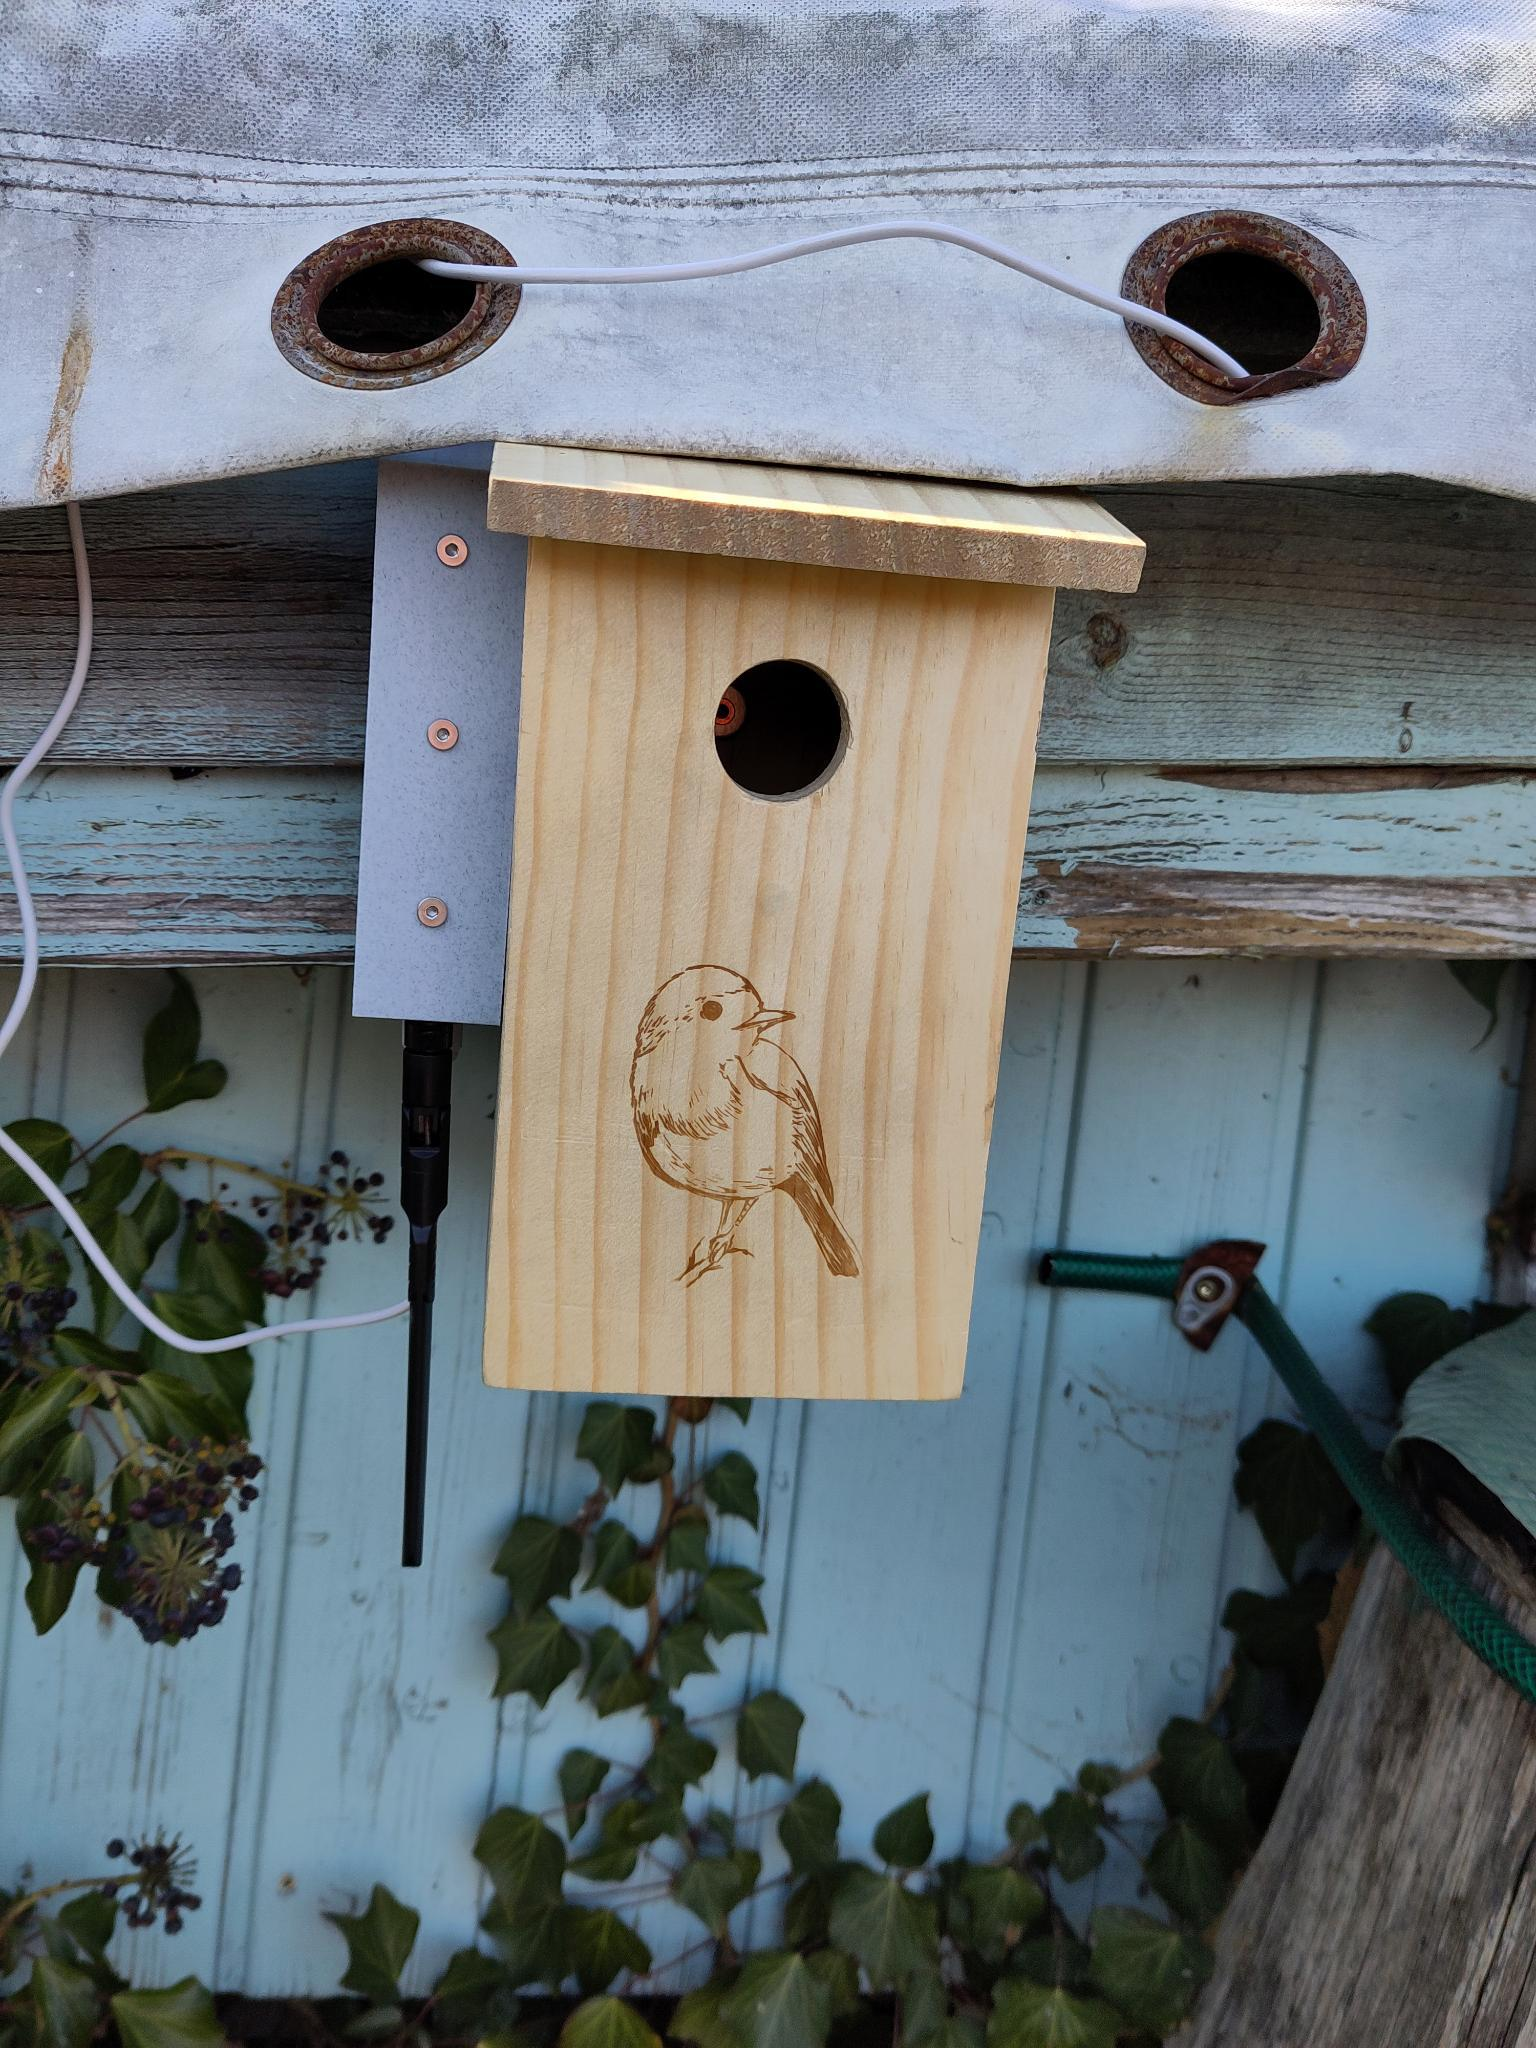
19:22:18
But let's rewind a bit. "What's actually in there?" I hear nobody ask.
19:26:08
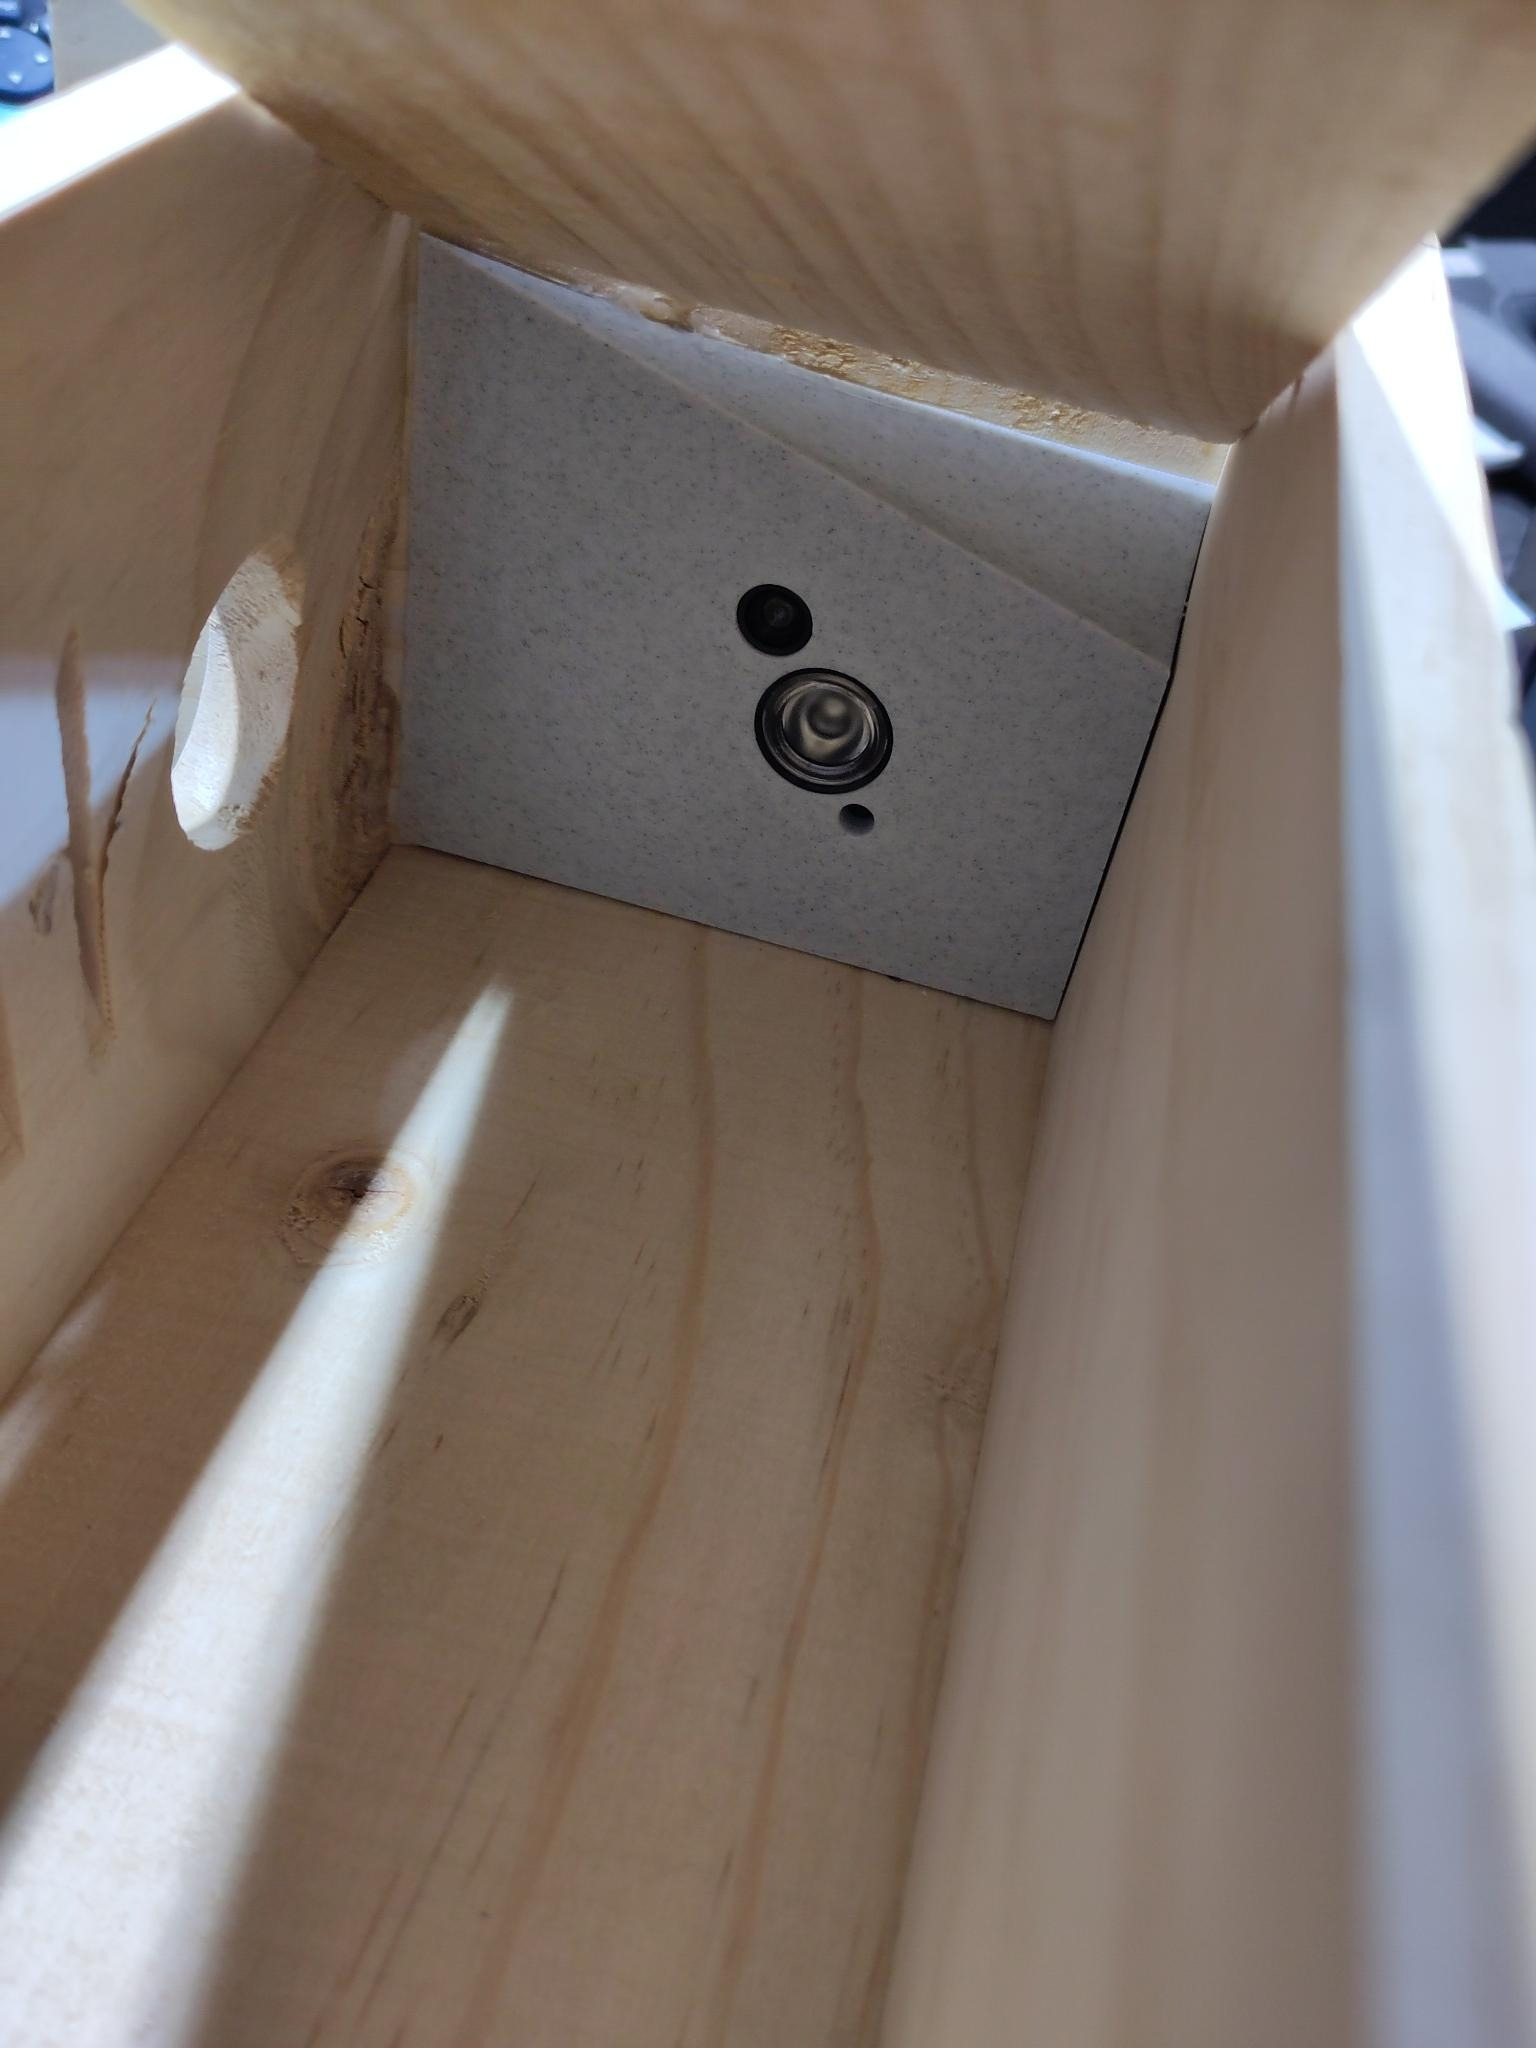
In the top is one of those ESP32 camera boards with a fisheye-lens camera and an IR-LED I stole off a Raspberry Pi camera.
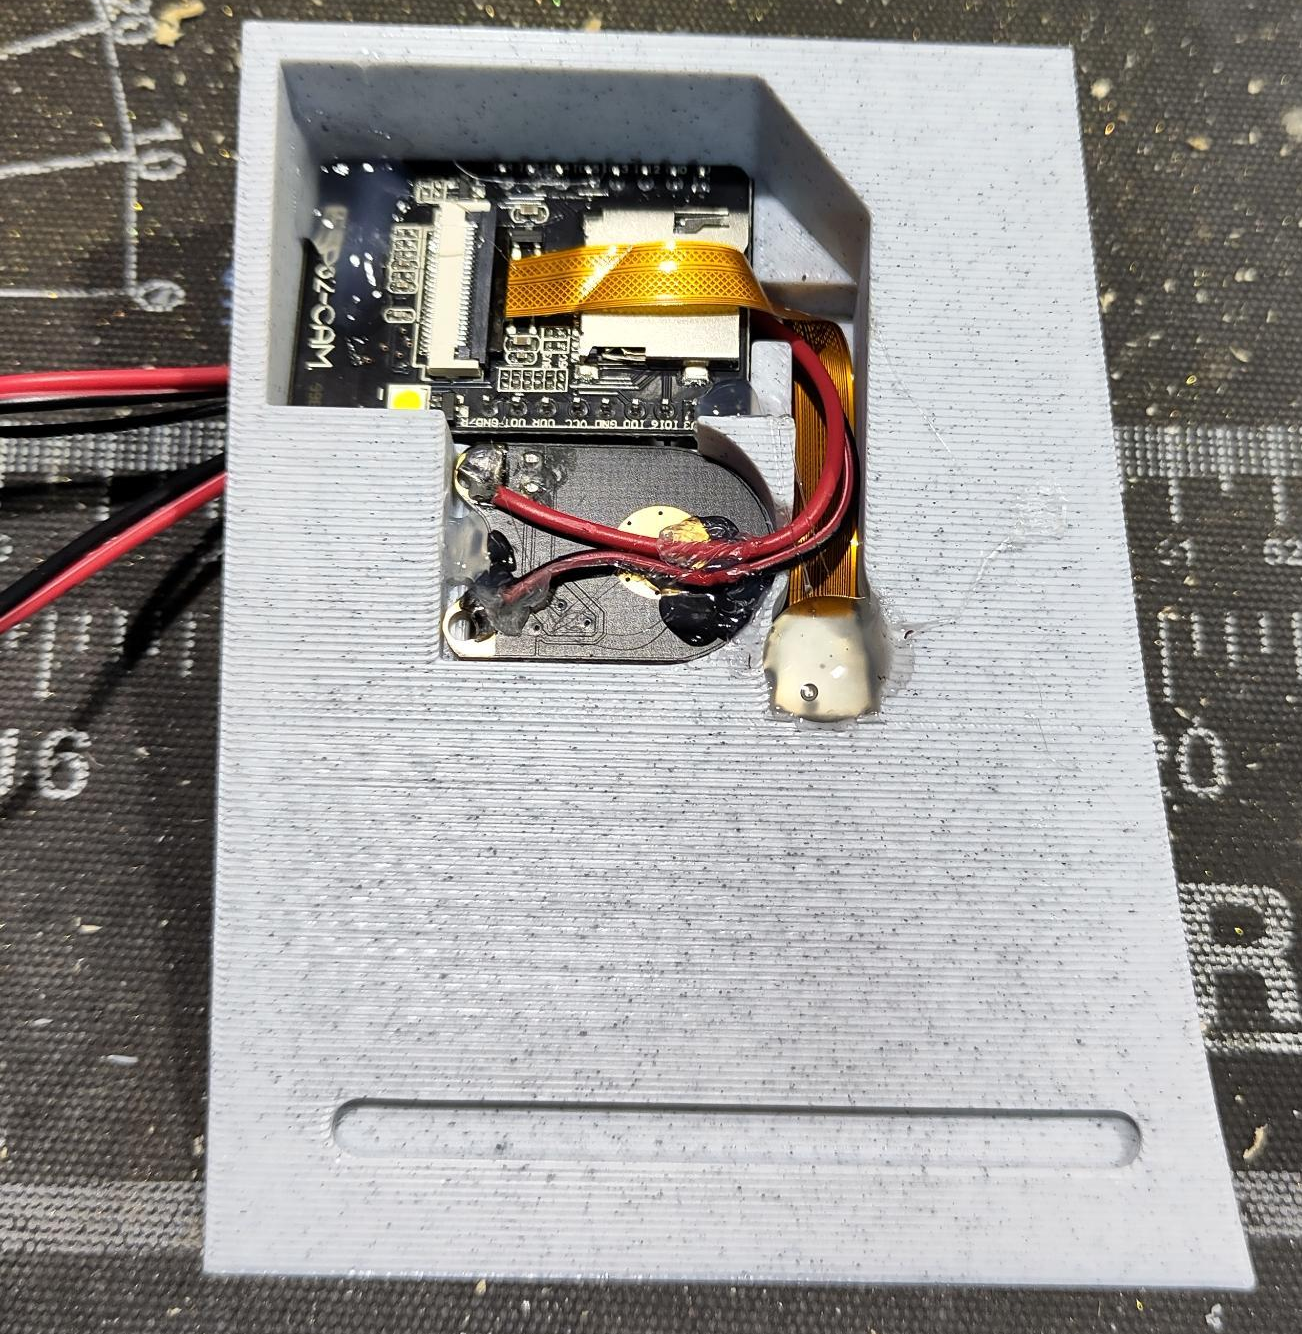
19:32:04
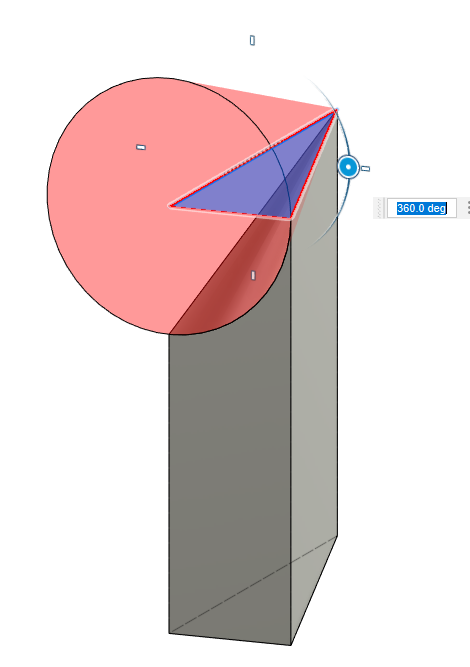
The reason for the weird shape of that plastic box is the swiveling side panel of the nesting box. I bought it like that and couldn't modify it so I had to design around it.
19:35:28
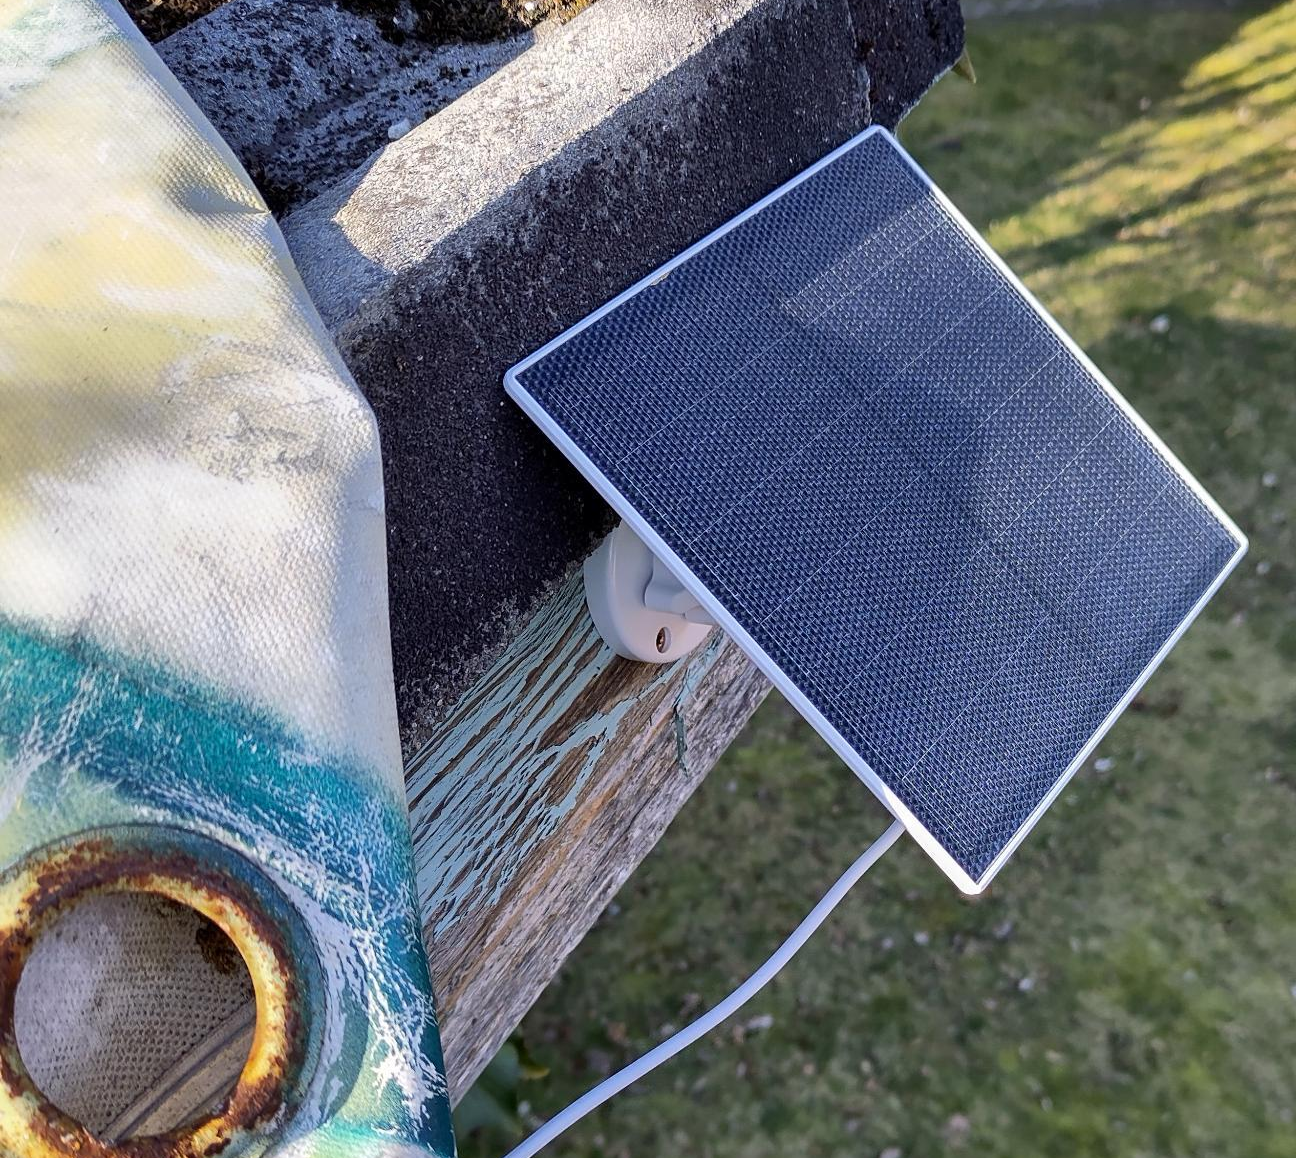
Since there is no electricity in the garden, the whole thing is powered by a solar panel and a 2600mAh 18650 cell.
I didn't photograph the cell or the charger, but here's a picture of the panel.
19:37:41
The gray box that hangs on the side of the nesting box is where the battery lives.
On a full charge, it gives me a runtime of about 4 hours.
I call this a feature. That way the birds get some privacy too.
19:39:08
Initially, I wasn't sure if the internet in our garden would be good enough for this setup. The old access points I replaced last year in the fall wouldn't have cut it.
But the new ones cover that area just fine.
19:40:37
That is almost a bummer because I was planning on mounting a TP-Link cpe210 on the roof and having it point downwards to the garden.
19:41:41
I still might do that when/if I set up more camera nesting boxes. Especially in areas further from the house, I might need it.
19:46:47
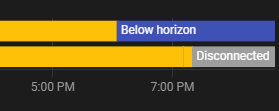
Now, for reasons I'm not sure about yet, the camera is offline. It went out only one hour after sunset.
Maybe it stopped charging the battery 3 hours before sunset due to insufficient light.
Maybe it couldn't fully charge up in a little less than half a day.
I guess I'll see what happens tomorrow.
19:48:00
I don't have any telemetry for the battery. This is something I might add in a future revision.
A few more sensors in general would be nice I guess.
And maybe a battery that's at least on paper capable of running the thing over night.
19:48:28
Oh, and a different lens.
Fisheye is way overkill.
19:49:17
But I'm already browsing Digikey for parts, so I might just build myself a custom PCB for this exact use case.
Or not. We'll see.
2024-03-09, 08:36:18
Aaaand it's still offline.
Great.
08:37:48
According to the proper solar panels on the house the sun is only really up for about 90 minutes.
Let's give it another hour or two to see what it does(n't).
10:51:03
Still offline.
Nothing ever is easy.
11:45:46
Turns out the USB-C breakout I was using to plug into the Battery Charger had 5V and GND swapped on the silkscreen.
Swapped over the leads and now I've got a charging light.
The ESP didn't go online immediately, let's give it a few minutes.
12:41:34
One hour later and it's still offline.
13:01:58
Looks like it's reboot-looping and triggering Tasmotas reset feature.
I guess the panel just sucks ass. I now ordered a bigger one, hoping this does the trick.
14:44:59
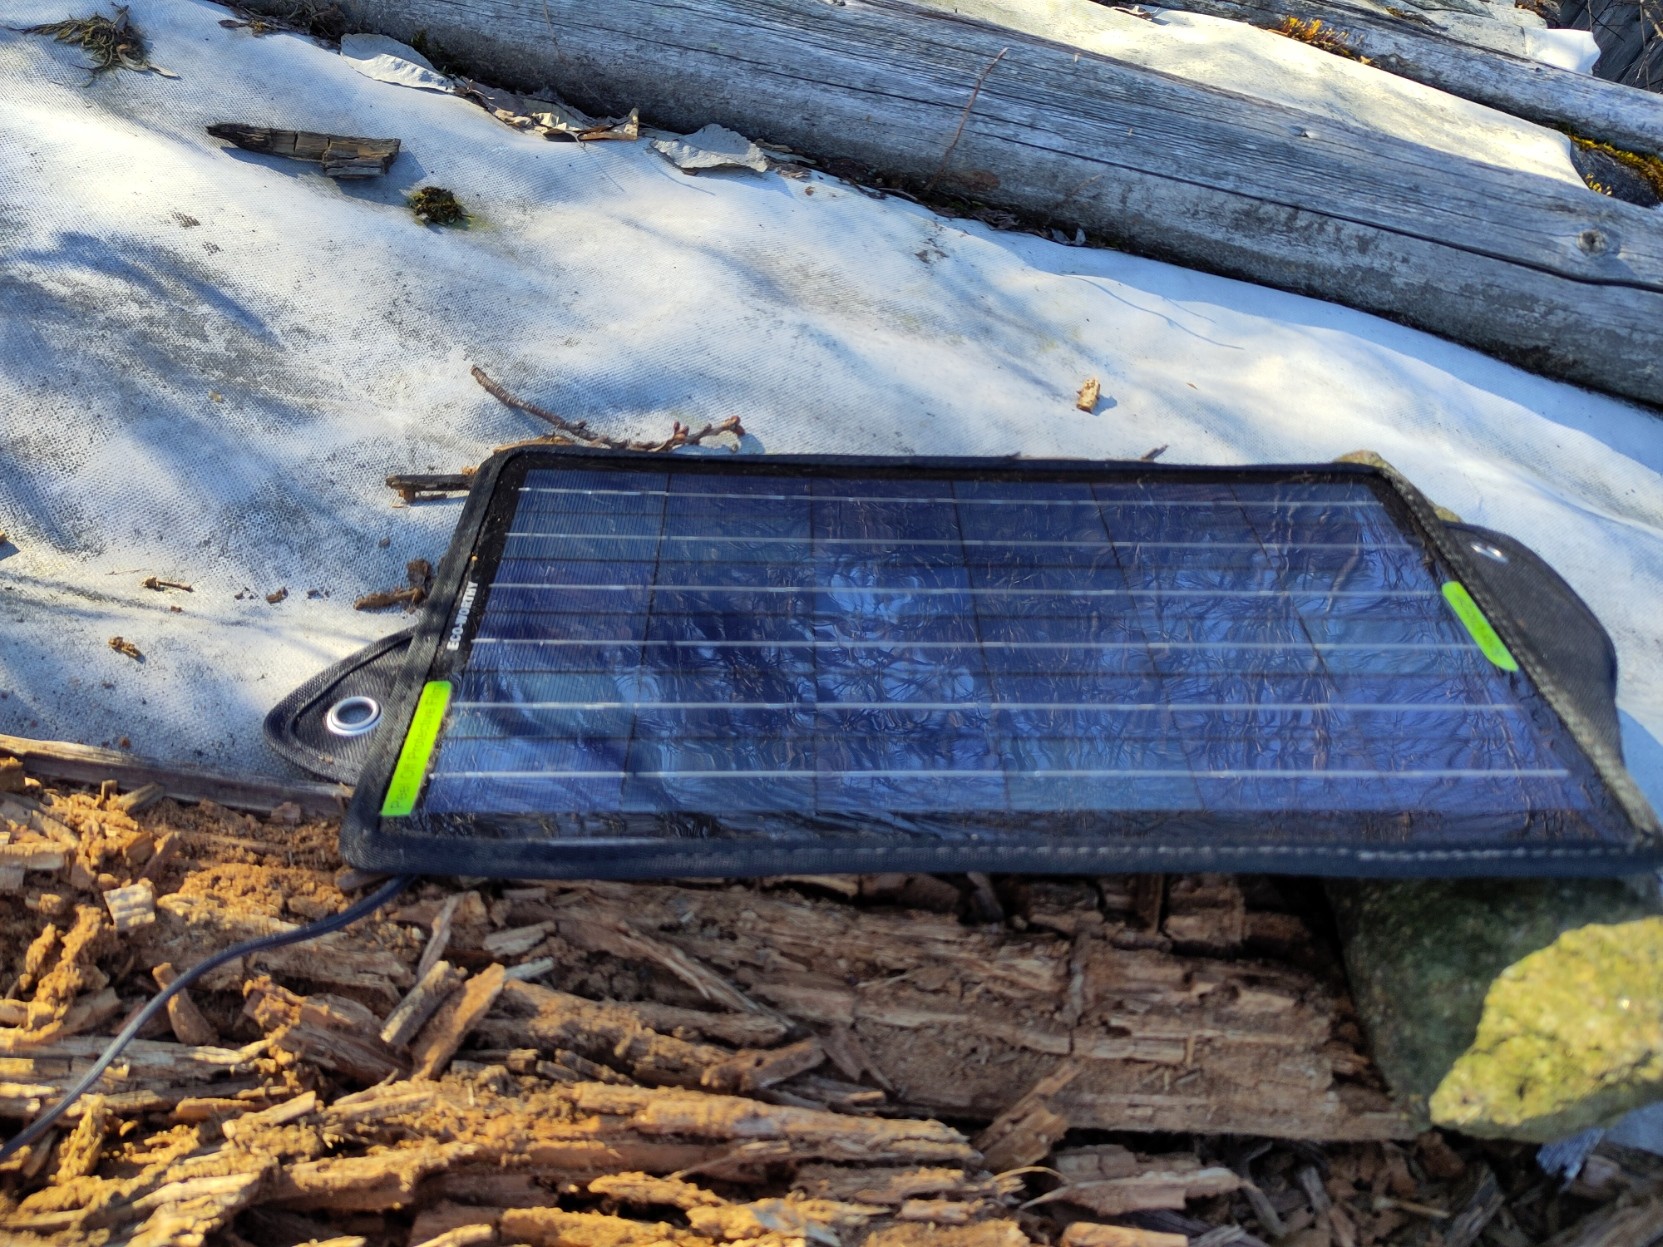
Look what I found in my Workshop.
It's a 24V Panel. Sadly the sun is so low (and partly obstructed by a tree) that it drops down to basically nothing as soon I put a load on it.
14:55:19
So I guess I'll have to wait till tomorrow to figure out if it actually is enough for this setup or If I need the better panel I ordered.
15:00:04
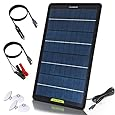
According to Amazon, I bought the panel in 2021 and It should output 12V at a max of 1.2A.
So either there's something wrong with this panel or my multimeter, or they changed the listing.
15:06:00
Good news everyone!
They changed the listing and the one I have is borked.
Both the old and the new Listing titles call it a 12V 10W panel.

15:06:28
This is why I don't delete old emails.
17:34:29
Hey, look: the thing went back online for like half a minute about one hour ago.
Maybe the panel trickle-charged the battery just enough for 38 seconds of runtime. It only took a bit over two hours to do that.

2024-03-10, 08:39:15
Guess what:
It's cloudy today. So I'm not sure if that (probably broken) solar panel is able to generate enough juice to achieve anything.
Let's wait and see.
2024-03-17, 13:07:44
Update: I installed the new panel and now it seems to work.

13:08:00
It still might die as soon as the sun goes down, but let's wait and see.
13:10:50
Funfact: I'm using the ping integration in Home Assistant to monitor if it's online or not.
The average round-trip time is
102 ms. Not great not horrible.
